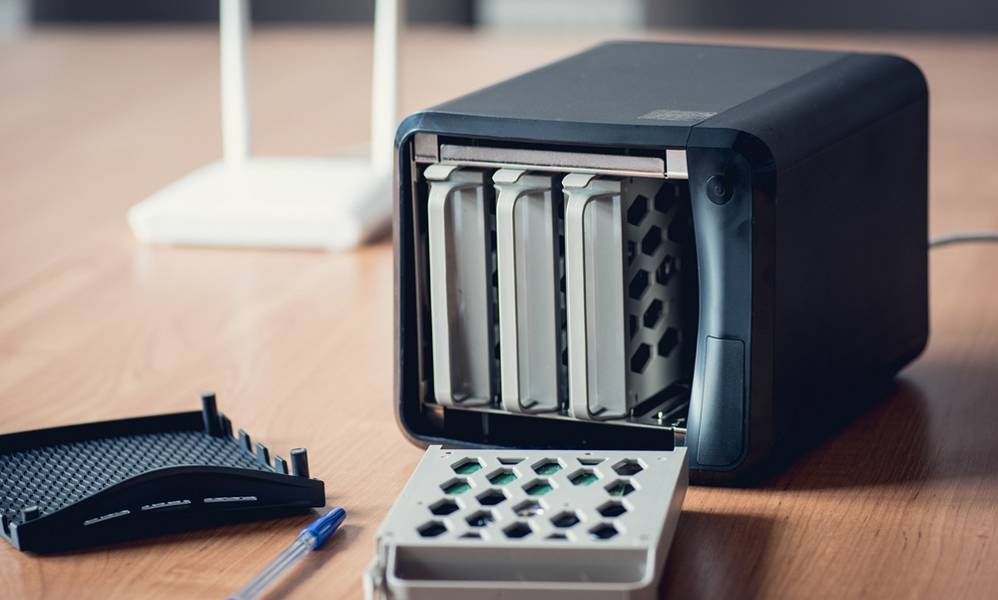
How to Set Up a Home Server for Beginners
Setting up a home server might sound like a daunting task, but with the right guidance and tools, even beginners can create their own personal server to manage files, stream media, or host websites. Here’s a step-by-step guide to help you get started on your journey to becoming a home server guru.
Why Set Up a Home Server?
Before diving into the technicalities, it’s important to understand why setting up a home server is beneficial. A home server allows you to centralize your data storage, making it easier to access files from multiple devices. It also enables you to run applications and services that enhance your digital lifestyle, such as hosting your own website or creating a private cloud for file sharing.
Step 1: Choose the Right Hardware
The first step in setting up a home server is selecting the appropriate hardware. You don’t need expensive equipment; an old computer or a dedicated mini PC like a Raspberry Pi can serve as a reliable server. Ensure your chosen device has sufficient storage capacity and a stable power supply.
Step 2: Select an Operating System
For beginners, choosing the right operating system is crucial. Popular options include Ubuntu Server, FreeNAS, and Windows Server Essentials. Each of these OSes offers unique features tailored to different needs. For example, Ubuntu is great for learning Linux-based systems, while FreeNAS is ideal for creating a network-attached storage (NAS) solution.
Step 3: Install the Operating System
Once you’ve selected your operating system, download the installation image and use a tool like Rufus or Etcher to create a bootable USB drive. Insert the USB into your server hardware and follow the on-screen instructions to install the OS. Make sure to allocate enough disk space and configure basic settings during installation.
Step 4: Configure Your Network
A stable network connection is essential for your home server to function properly. Connect your server to your router via Ethernet for optimal performance. Assign a static IP address to your server through your router’s settings to ensure consistent connectivity.
Step 5: Set Up File Sharing and Services
With your server up and running, it’s time to set up file sharing and other services. Use tools like Samba for Windows file sharing or NFS for Linux systems. Additionally, consider installing applications such as Plex for media streaming, Nextcloud for personal cloud storage, or Docker for containerized applications.
Step 6: Secure Your Server
Security should always be a priority when setting up a home server. Regularly update your operating system and installed software to patch vulnerabilities. Use strong passwords and consider enabling two-factor authentication where possible. If your server is accessible from the internet, configure a firewall to protect against unauthorized access.


